How to Add API Authentication with Laravel Sanctum
Add secure token authentication to a Laravel 13 API with registration, login, protected routes, abilities and logout.
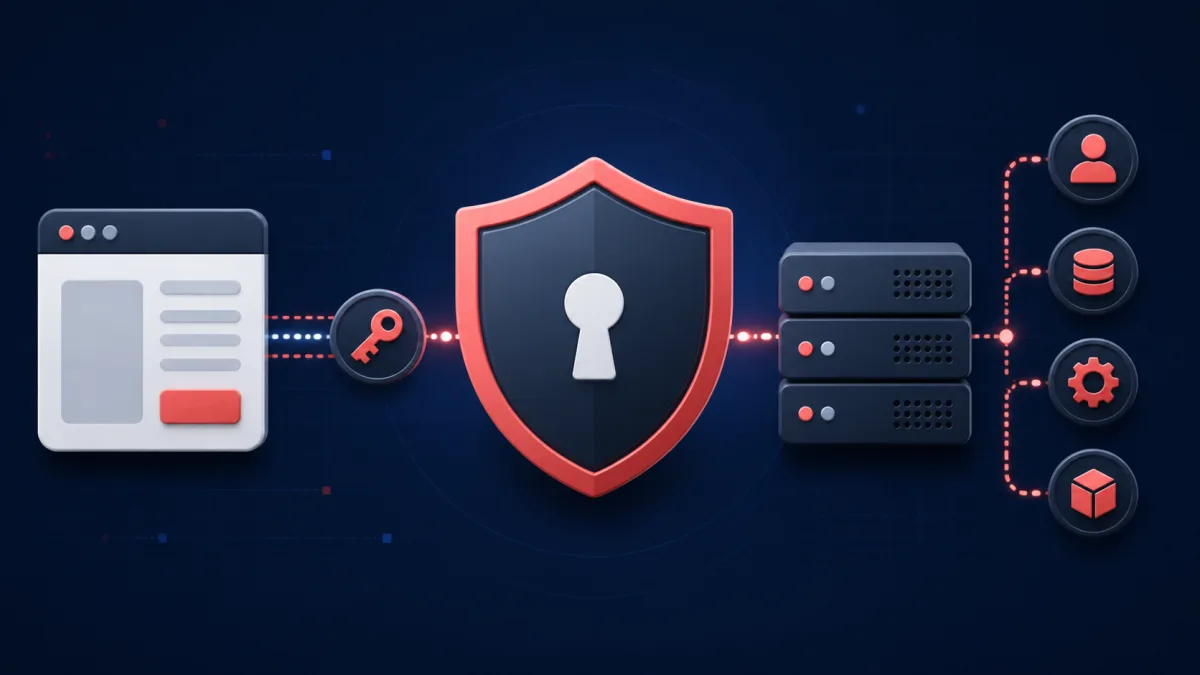
Laravel Sanctum adds lightweight authentication to APIs used by mobile applications, command-line clients and third-party integrations. In this tutorial, you will build registration and login endpoints, protect routes with auth:sanctum, restrict tokens with abilities and revoke the current token during logout.
This tutorial uses Laravel 13 and personal access tokens. If you are authenticating your own first-party single-page application, use Sanctum's cookie-based SPA authentication instead of storing API tokens in browser storage.
Prerequisites#
PHP and Composer installed
A Laravel 13 application with a configured database
Basic familiarity with Laravel routing, controllers and Eloquent
cURL, Postman or another HTTP client for testing
What we will build#
The API will expose these endpoints:
POST /api/registercreates a user and returns a token.POST /api/loginverifies credentials and returns a token.GET /api/userreturns the authenticated user.POST /api/logoutrevokes the token used for the request.
The client sends the token on protected requests using the Authorization: Bearer TOKEN header.
Step 1: Install Sanctum and API routing#
Run Laravel's API installer:
php artisan install:api
php artisan migrate
The first command installs Sanctum and creates routes/api.php. The migration creates the personal_access_tokens table used to store hashed tokens.
Check that your application can connect to its database before continuing. Database credentials belong in .env and must never be committed to Git.
Step 2: Add HasApiTokens to the User model#
Sanctum issues tokens through the HasApiTokens trait. Open app/Models/User.php and confirm that the model uses it:
<?php

namespace App\Models;

use Illuminate\Database\Eloquent\Factories\HasFactory;
use Illuminate\Foundation\Auth\User as Authenticatable;
use Illuminate\Notifications\Notifiable;
use Laravel\Sanctum\HasApiTokens;

class User extends Authenticatable
{
    use HasApiTokens, HasFactory, Notifiable;

    protected $fillable = [
        'name',
        'email',
        'password',
    ];

    protected function casts(): array
    {
        return [
            'email_verified_at' => 'datetime',
            'password' => 'hashed',
        ];
    }
}
The hashed cast automatically hashes a plain-text password when it is assigned. Laravel also avoids hashing a value again when it is already hashed.
Step 3: Create the authentication controller#
Generate a controller:
php artisan make:controller Api/AuthControllerReplace app/Http/Controllers/Api/AuthController.php with the following implementation:
<?php

namespace App\Http\Controllers\Api;

use App\Http\Controllers\Controller;
use App\Models\User;
use Illuminate\Http\JsonResponse;
use Illuminate\Http\Request;
use Illuminate\Support\Facades\Hash;
use Illuminate\Validation\Rules\Password;

class AuthController extends Controller
{
    public function register(Request $request): JsonResponse
    {
        $validated = $request->validate([
            'name' => ['required', 'string', 'max:255'],
            'email' => ['required', 'email', 'max:255', 'unique:users,email'],
            'password' => ['required', 'confirmed', Password::min(8)],
            'device_name' => ['required', 'string', 'max:100'],
        ]);

        $user = User::create([
            'name' => $validated['name'],
            'email' => $validated['email'],
            'password' => $validated['password'],
        ]);

        $token = $user->createToken(
            $validated['device_name'],
            ['profile:read', 'profile:update']
        );

        return response()->json([
            'user' => $user,
            'token' => $token->plainTextToken,
        ], 201);
    }

    public function login(Request $request): JsonResponse
    {
        $validated = $request->validate([
            'email' => ['required', 'email'],
            'password' => ['required', 'string'],
            'device_name' => ['required', 'string', 'max:100'],
        ]);

        $user = User::where('email', $validated['email'])->first();

        if (! $user || ! Hash::check($validated['password'], $user->password)) {
            return response()->json([
                'message' => 'The provided credentials are incorrect.',
            ], 422);
        }

        $token = $user->createToken(
            $validated['device_name'],
            ['profile:read', 'profile:update']
        );

        return response()->json([
            'user' => $user,
            'token' => $token->plainTextToken,
        ]);
    }

    public function logout(Request $request): JsonResponse
    {
        $request->user()->currentAccessToken()?->delete();

        return response()->json([
            'message' => 'Token revoked.',
        ]);
    }
}
The plain-text token is available only when Sanctum creates it. Store it securely on the client and never write it to application logs. Sanctum stores only a SHA-256 hash in the database.
Step 4: Define public and protected routes#
Add the routes to routes/api.php:
<?php

use App\Http\Controllers\Api\AuthController;
use Illuminate\Http\Request;
use Illuminate\Support\Facades\Route;

Route::post('/register', [AuthController::class, 'register']);
Route::post('/login', [AuthController::class, 'login']);

Route::middleware('auth:sanctum')->group(function (): void {
    Route::get('/user', function (Request $request) {
        return $request->user();
    });

    Route::post('/logout', [AuthController::class, 'logout']);
});
The public routes accept credentials. Routes inside the middleware group require a valid Sanctum token or an authenticated stateful Sanctum session.
Step 5: Register a user#
Send a registration request. Replace http://localhost:8000 if your development URL is different:
curl -X POST http://localhost:8000/api/register \
  -H "Accept: application/json" \
  -H "Content-Type: application/json" \
  -d '{
    "name": "Example Developer",
    "email": "developer@example.com",
    "password": "correct-horse-battery-staple",
    "password_confirmation": "correct-horse-battery-staple",
    "device_name": "development-cli"
  }'
A successful request returns HTTP 201 Created, the user and a token:
{
  "user": {
    "id": 1,
    "name": "Example Developer",
    "email": "developer@example.com"
  },
  "token": "1|PLAINTEXT_TOKEN_RETURNED_ONCE"
}
Copy the returned token for the next request. The example value above is a placeholder, not a working credential.
Step 6: Call a protected endpoint#
Pass the token as a Bearer token:
curl http://localhost:8000/api/user \
  -H "Accept: application/json" \
  -H "Authorization: Bearer YOUR_TOKEN"
Laravel returns the authenticated user. If the header is missing or the token is invalid, the API returns 401 Unauthorized.
Step 7: Restrict access with token abilities#
Abilities limit what an API token may request. They complement your authorization policies; they do not replace checks that determine whether the user owns or may modify a resource.
Laravel 13 provides Sanctum middleware for checking token abilities. Register the aliases in bootstrap/app.php:
use Illuminate\Foundation\Configuration\Middleware;
use Laravel\Sanctum\Http\Middleware\CheckAbilities;
use Laravel\Sanctum\Http\Middleware\CheckForAnyAbility;

->withMiddleware(function (Middleware $middleware): void {
    $middleware->alias([
        'abilities' => CheckAbilities::class,
        'ability' => CheckForAnyAbility::class,
    ]);
})
The abilities middleware requires every listed ability. The ability middleware requires at least one. This route requires the token to have profile:update:
Route::put('/profile', function (Request $request) {
    // Validate and update the authenticated user's profile.
})->middleware(['auth:sanctum', 'abilities:profile:update']);
Step 8: Revoke the current token#
Call the logout endpoint with the same Bearer token:
curl -X POST http://localhost:8000/api/logout \
  -H "Accept: application/json" \
  -H "Authorization: Bearer YOUR_TOKEN"
The controller deletes only the token used for that request. Other devices remain signed in. To revoke every token for a user, call $request->user()->tokens()->delete().
Step 9: Add an authentication feature test#
Generate a test:
php artisan make:test Api/AuthenticationTestAdd a focused test to tests/Feature/Api/AuthenticationTest.php:
<?php

namespace Tests\Feature\Api;

use App\Models\User;
use Illuminate\Foundation\Testing\RefreshDatabase;
use Tests\TestCase;

class AuthenticationTest extends TestCase
{
    use RefreshDatabase;

    public function test_a_user_can_log_in_and_access_a_protected_route(): void
    {
        $user = User::factory()->create([
            'password' => 'correct-horse-battery-staple',
        ]);

        $login = $this->postJson('/api/login', [
            'email' => $user->email,
            'password' => 'correct-horse-battery-staple',
            'device_name' => 'test-client',
        ]);

        $login->assertOk()->assertJsonStructure(['user', 'token']);

        $this->withToken($login->json('token'))
            ->getJson('/api/user')
            ->assertOk()
            ->assertJsonPath('id', $user->id);
    }
}
Run the test suite:
php artisan testSecurity and production notes#
Serve the API only over HTTPS in production. Bearer tokens can be used by anyone who obtains them.
Rate-limit registration and login endpoints to reduce automated credential attacks.
Return the plain-text token once and avoid recording request headers or tokens in logs.
Give tokens the smallest set of abilities they need.
Revoke tokens when a device is removed or a credential may be compromised.
Sanctum tokens do not expire by default. Configure
expirationinconfig/sanctum.phpwhen your threat model requires expiry, and schedulesanctum:prune-expiredto remove old records.Use policies or gates for resource authorization. Authentication proves who sent a request; it does not prove that the user may modify every record.
Common problems#
Unauthenticated response with a valid-looking token#
Confirm that the client sends Accept: application/json and the complete token in the Authorization header. Also verify that the personal_access_tokens migration has run.
Route file does not exist#
Run php artisan install:api. Fresh Laravel applications do not enable API routing until it is installed.
403 response from an ability-protected route#
Check the abilities passed to createToken(). The ability name must match the middleware argument exactly.
Should I use tokens for a React or Vue SPA?#
Not for your own first-party SPA. Sanctum's official guidance is to use cookie-based session authentication for a first-party SPA so the browser receives CSRF protection and the credential is not exposed to JavaScript storage. Personal access tokens are appropriate for mobile applications, command-line clients and third-party API consumers.
Conclusion#
You now have a Laravel API that can register users, issue Sanctum tokens, authenticate protected requests, restrict tokens with abilities and revoke the current token. The next production steps are rate limiting, authorization policies, email verification and a documented token-management screen for users.